1, to ensure a smooth gradient
When creating gradients in CorelDRAW 8, the best way to get a smooth intermediate shape starts with a gradient control object that uses the same number of nodes and is in the same drawing order (clockwise or counterclockwise). Established. To do this, you need to create a second object by modifying the copy of the first object. After the first object is selected, press the + key on the numeric keypad to copy it. Put the copy aside, select the Shape tool, and start rescheduling the node. If you need to add additional nodes here or there to make a second object (in CorelDRAW 8, you can double-click on a curve to add a node), add the corresponding node to the first object. If the shape has many nodes, you can place a temporary, circle-like marker in the first object next to the node, and another marker in the second object next to the corresponding node.
2. Shortcuts for copying colors and attributes
The fastest way to color individual individuals in a group in CorelDRAW 8 is to drag the color on the screen palette directly to the object. Similarly, a shortcut to copy attributes to a single individual in the group is to hold down the right mouse button while dragging the object, and the properties of the object are exactly what you want to copy to the target object. When you release the button, a pop-up menu appears, and you can select the attributes you want to copy.
3, make a uniform color palette
If you have created an illustration and want to make a second one, the color should match the first one. You can use the New Palette From document or New Palette From selecion command in CorelDRAW 8's Tool menu to grab, name, and store it. Palette. Then use the Palette editor (found in the Tool menu) to sort the colors in a favorite order. Finally, display the new palette in another file, select View, Color Palette, Load Palette, and select the named palette.
4, wipe the wrong line
If you use the hand-drawn pencil tool in CorelDRAW, accidentally draw a line or draw the wrong line, do not rush to delete the line, just immediately press the Shift key, then wipe off in reverse.
5, move ruler
Actually in CorelDRAW is the position where you can freely move the ruler. You can move the ruler by holding down the Shift key while dragging the mouse on the ruler. If you want to put the ruler back in place, simply hold down the Shift key on the ruler and quickly press the mouse button twice, and it will immediately return to the home position.
6, speed up the print output speed
If you use drafting software to produce manuscripts, it is best to check the pages before printing the output. If there are many temporary objects stored on the non-printing pages, delete them. Because these objects are still printed out when they are printed out, they are not actually printed.
7, using CorelDRAW animated GIF file
In fact, using CorelDRAW can also be used to create animated GIF files. Layers in CorelDRAW can be used as frames in an animation, and then output one by one as Gif files (images on other layers must be closed first). Then, using the Photo-PaintMovie function, first execute "Creat from document" to make the first GIF file into Movie, and then gradually insert the converted Gif file into "Insert from File" one by one. Select "Save as ..." The format of the animated Gif, setting the time and position of the delay in the dialog box, so that you're done.
8, simultaneous rotation and zoom
In CorelDRAW, when dragging the rotating handle of an object, while holding down the Shift key, you can rotate and scale the object at the same time; if you hold down the Alt key, you will be able to rotate and distort the tilt object simultaneously.
9, graphic cable, bad map
This situation often appears on one or several color plates of a certain map. The main reason is that the CorelDRAW 11 software rotates the graphics, or needs a bottom-out graphic (TIF format, with a channel). The solution is to select “convert to bitmap†under the bitmap menu. Re-conversion into a new DPI number (usually 350 DPI) transparent background image, this operation will re-sample the pixels.
10, there are pits on the graph
This situation is common on one or two color plates. The main reason may be that the image inadvertently adds some noise during scanning or when processing an image. The solution is to turn the map into a bitmap, which can be done once at a time, or it can be transferred to CorelDRAW11 for output.
11, faded at the end
This situation is common in graphics that need to be dismissed. That is, the graphics that have faded themselves have not faded at the time of output. The main reason is that the producers have deformed the graph in CorelDRAW, that is, the length and width of the DPI are not Caused by the same, the solution is the same as above.
12, wipe the wrong line
If you use the hand-drawn pencil tool in CorelDRAW, accidentally draw a line or draw the wrong line, do not rush to delete the line, just immediately press the Shift key, then wipe off in reverse.
13, quickly click on the object
When using CorelXARA to draw graphics, if objects overlap each other more and more, the more difficult it is to click on the object below, unless the object is removed. In fact, you can use the Alt or Option key with the mouse click to select the bottom of the object.
14, how to use the envelope to shape the object
1, the selected object. 2, click "effect", "envelope". 3. Click "Add envelope" to place a basic rectangular envelope around the selected object. The Shape tool is selected at this point, and a boundary with a node appears around the object. 4. Select the desired editing method by clicking the appropriate button (under the "Create From" button). 5. Select a handle and drag her in the direction the user wants. 6. Drag other contacts until the envelope has reached the user's desired shape. If you can't get the user's desired result in the current editing mode, the user can "reset the envelope" and choose a different way. The user can also select a different "mapping mode" from the list box below the edit mode button. 7. Click Apply. Fit the object in the envelope.
15, how to choose a different option for a jacket
1, click "effect", "envelope". 2. The user of the selected user wants to edit the object of the base envelope. 3, choose the user wants to use the options. 4, click "Apply".
16, how to use the conversion bar code icon
1. Select the bar code object that the user needs to open. 2. Click "Edit", "COREL Bar Object". 3. Click "Convert" from the expander toolbar. 4. Click "Show as Icon" to convert the bar.
17, how to change the bar code icon display
1. Select the bar code object that the user needs to open. 2. Click "Edit", "COREL Bar Object". 3. Click "Convert" from the expander toolbar. 4. Confirm "Show as Icon" and click "Change Icon". 5. Select a new icon from the preview area selector or from the file with the suffix ICQ or EXE.
eye lashes are popular all over the world. this 10mm lashes belong to Mink Lashes. it is short and natural. usually used during daily life. 100% mink lashes. very soft, reusable and classic. you can ask catalog from our salesman. with model wearing it, you can see how it looks in advance.
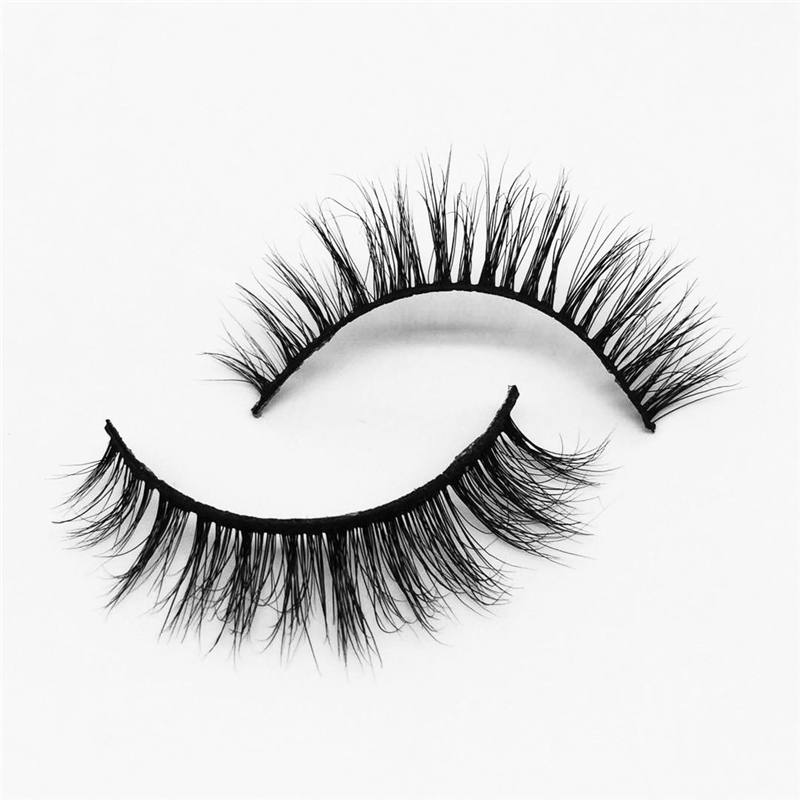
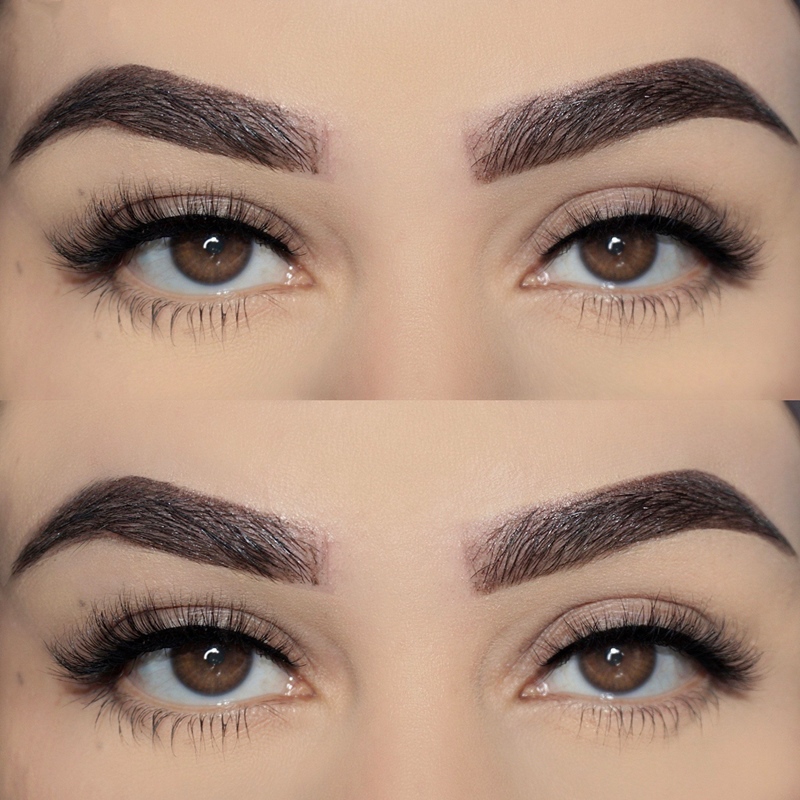
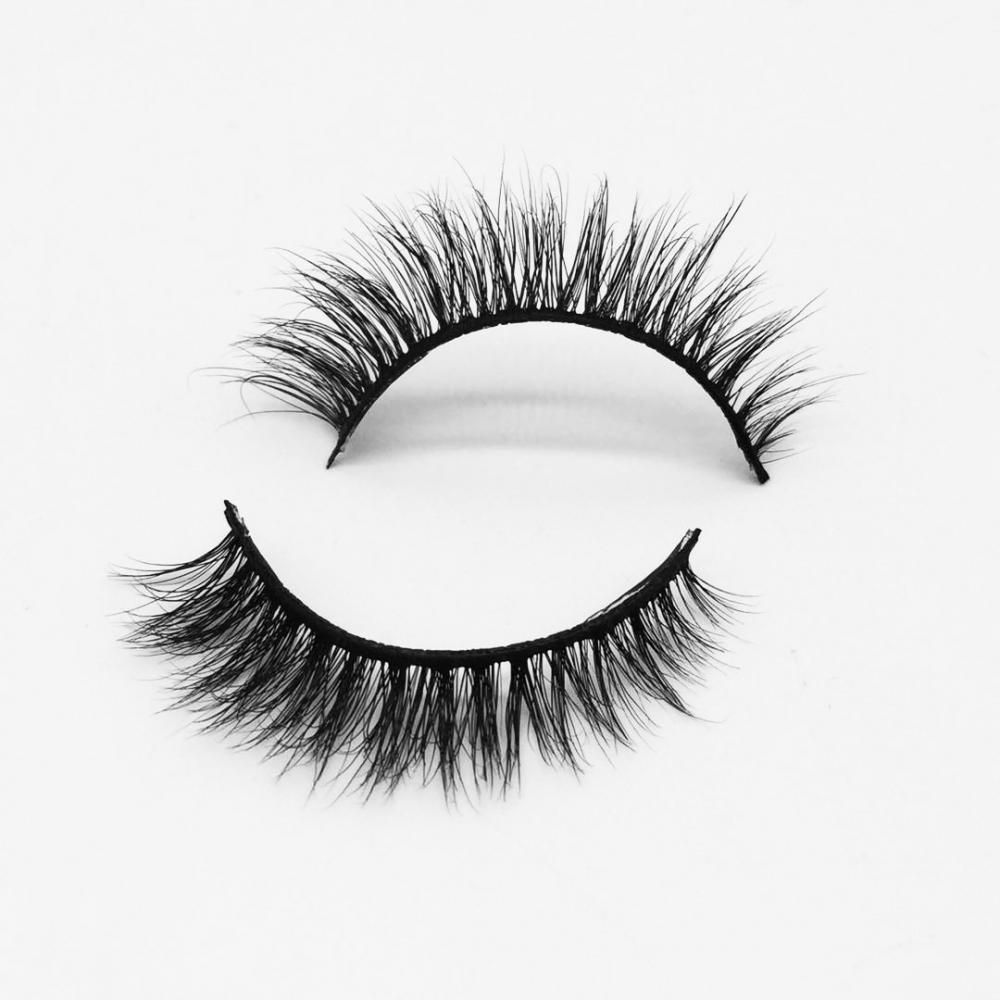
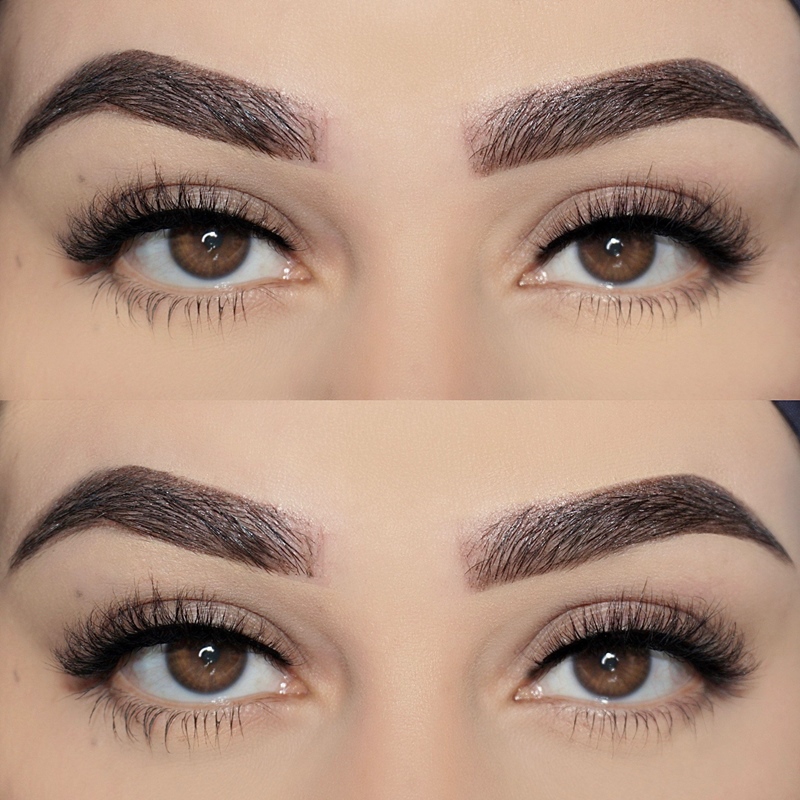
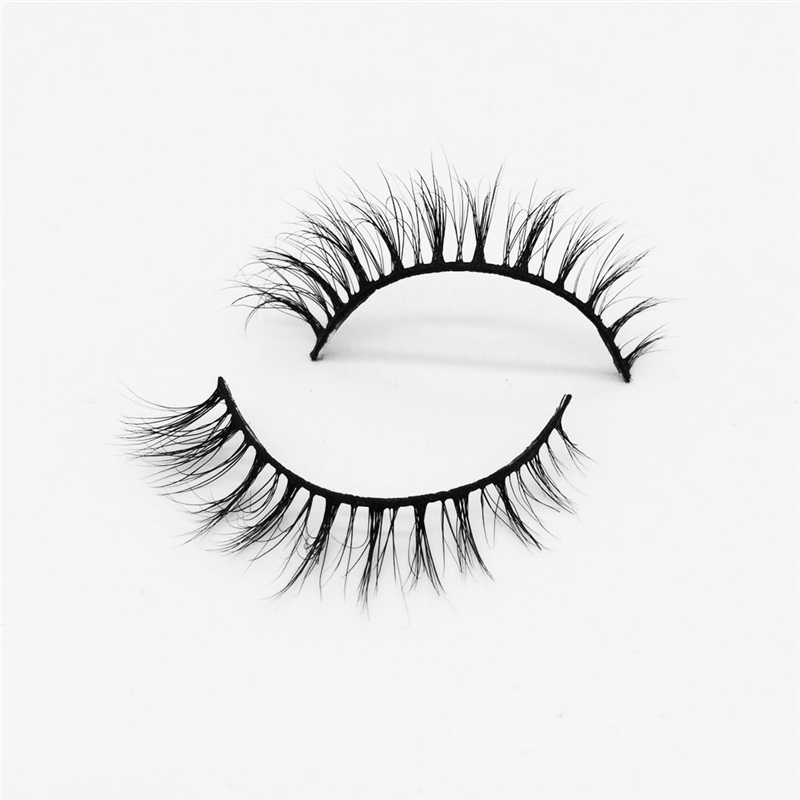
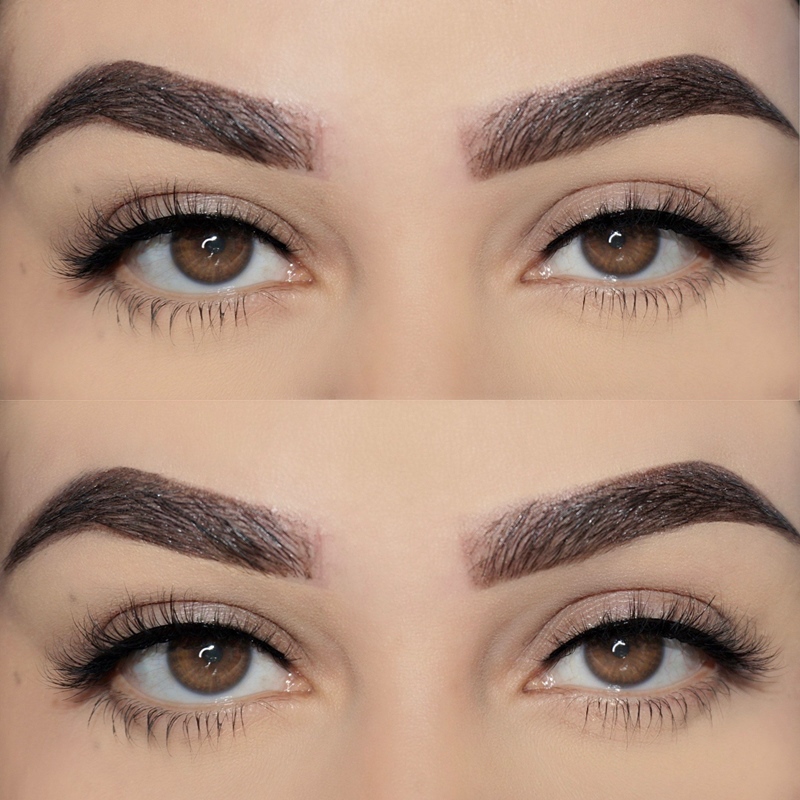
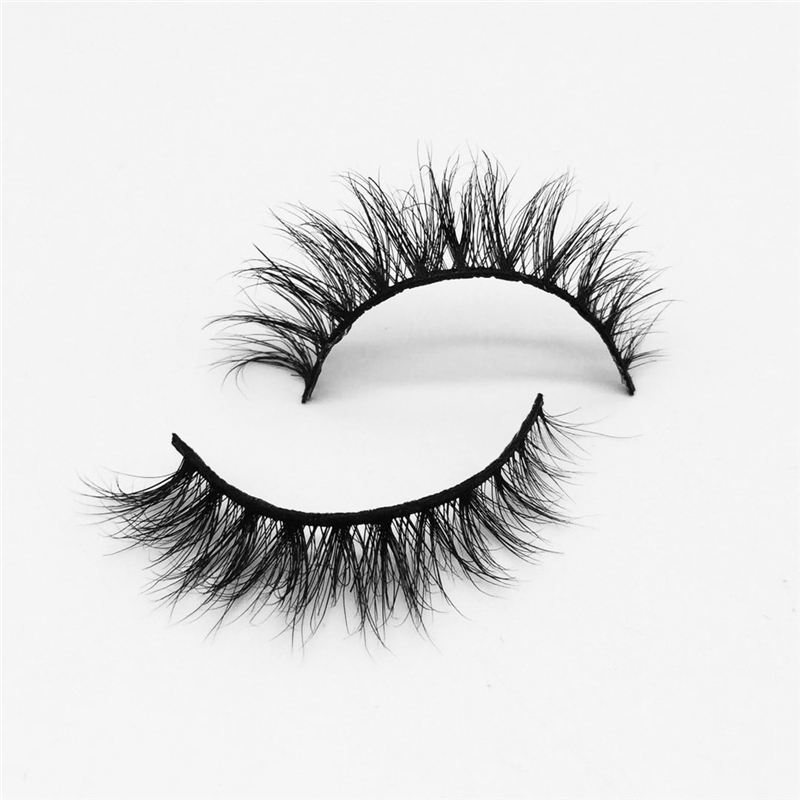
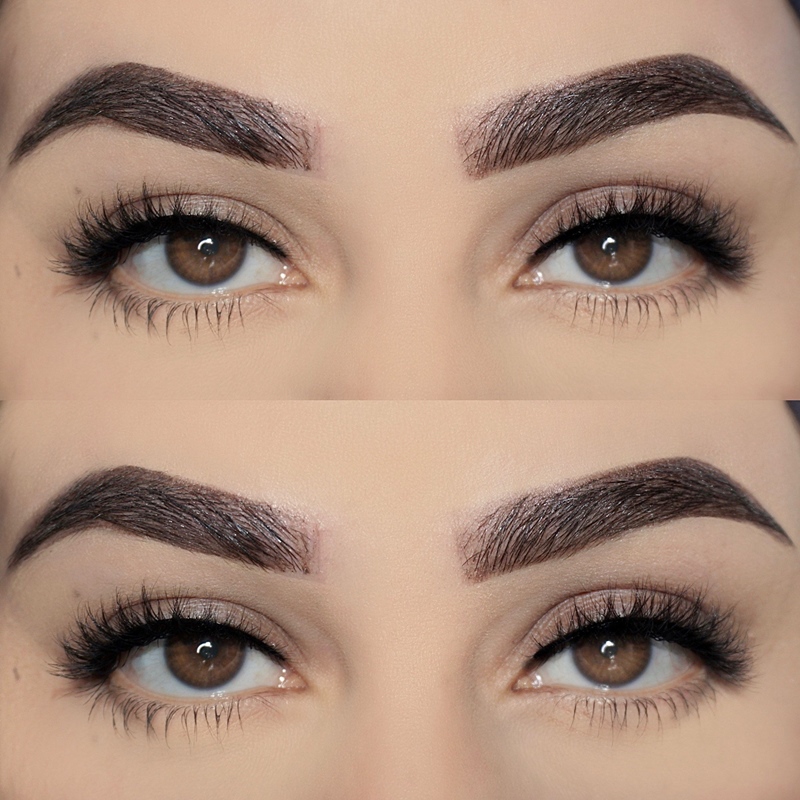
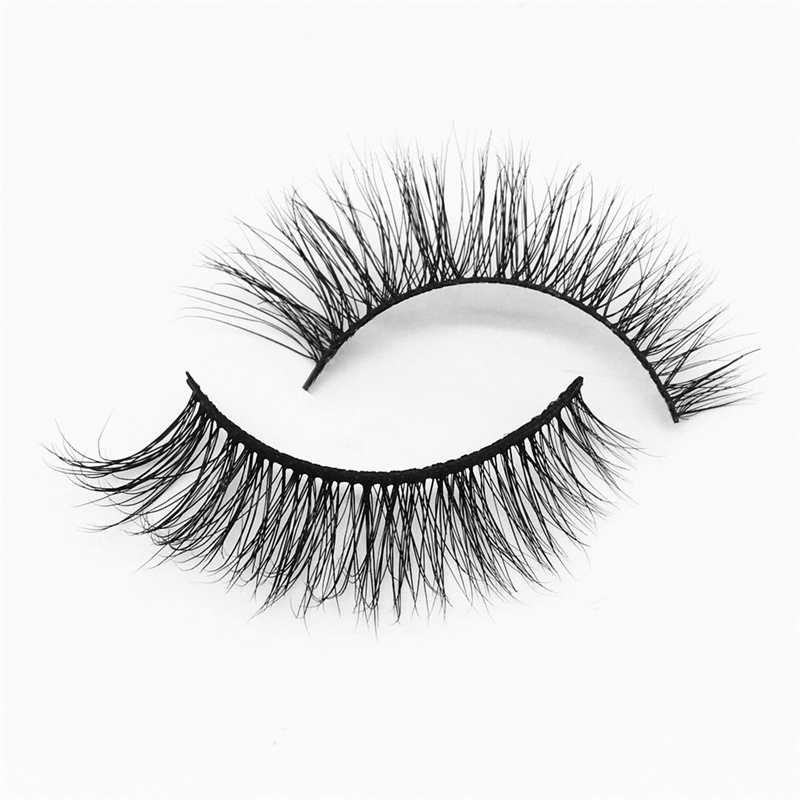
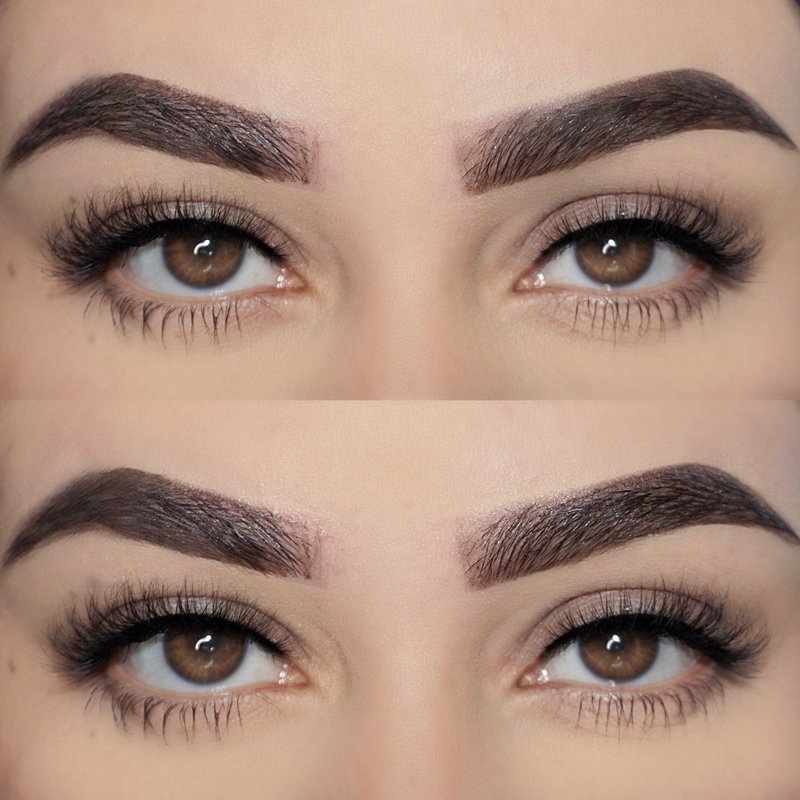
10Mm Lashes,Classic Eyelash Extensions,10Mm Mink Lashes,10Mm Mink Eyelashes
Zhengzhou Cuka Electronic Commerce Co., Ltd. , https://www.cukeyelashes.com
